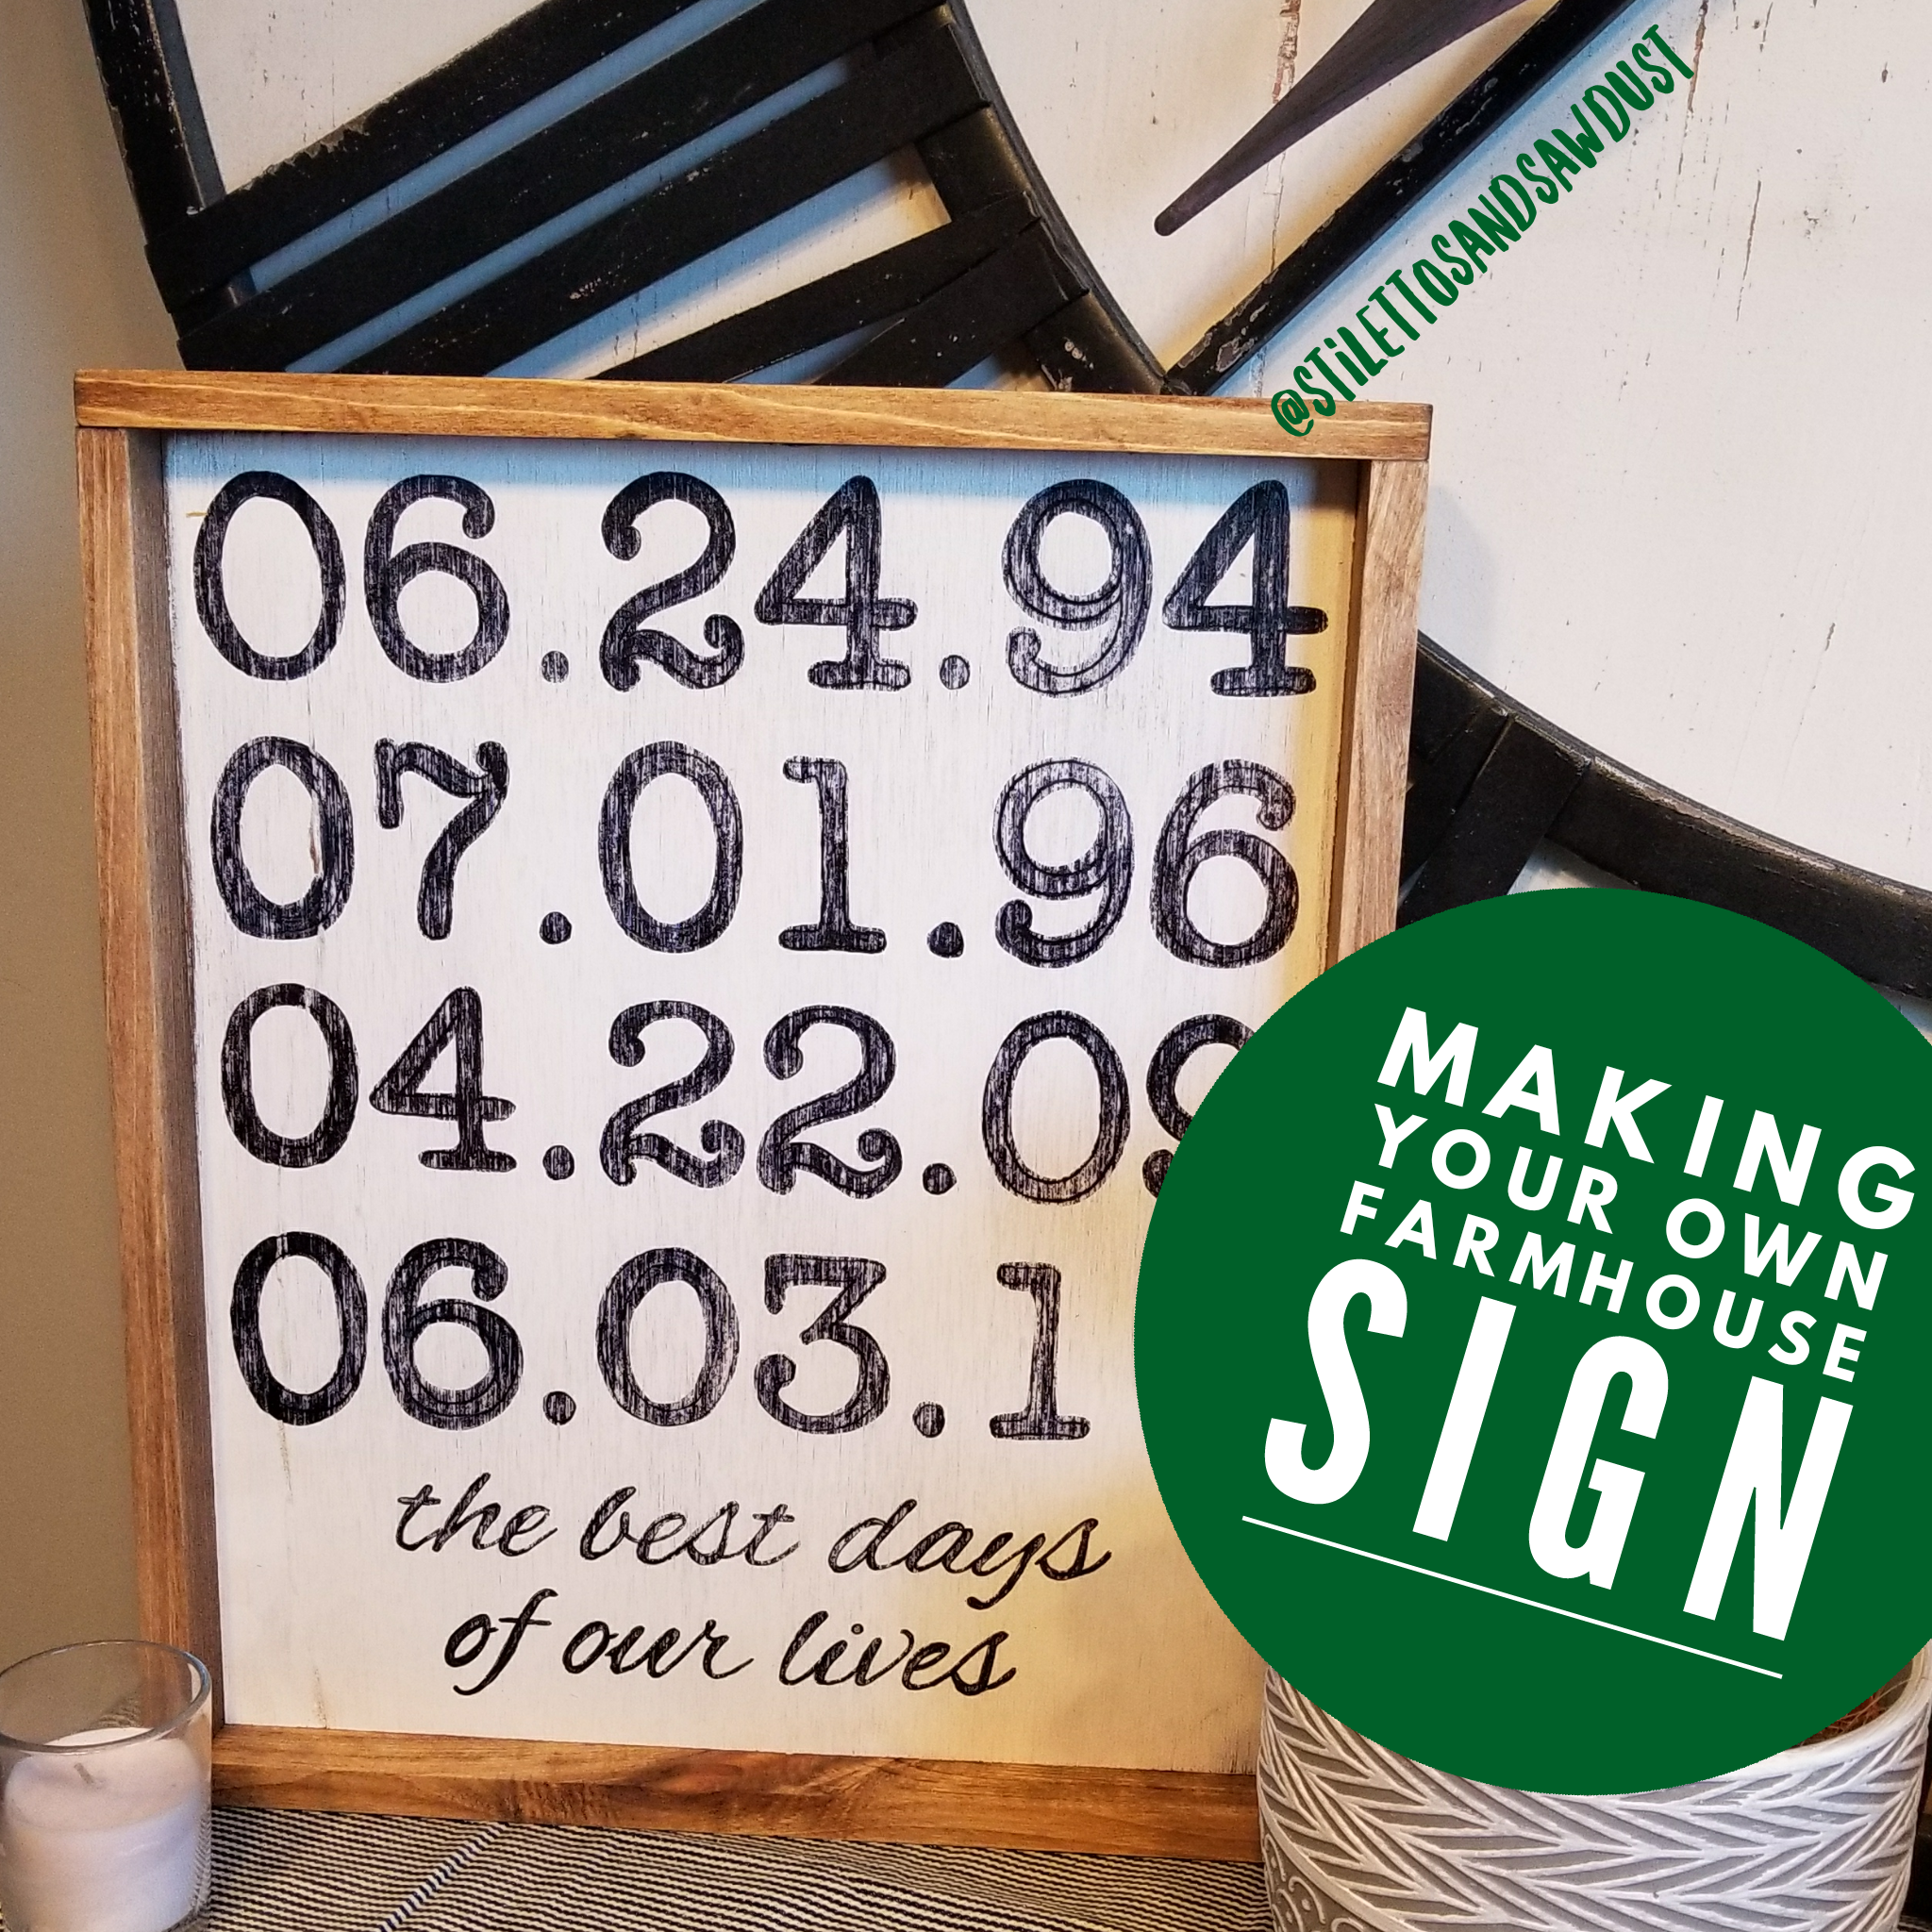
I love farmhouse signs. I don’t have many walls in this house to hang signs on but I will in the River House so I am stocking up in preparation!
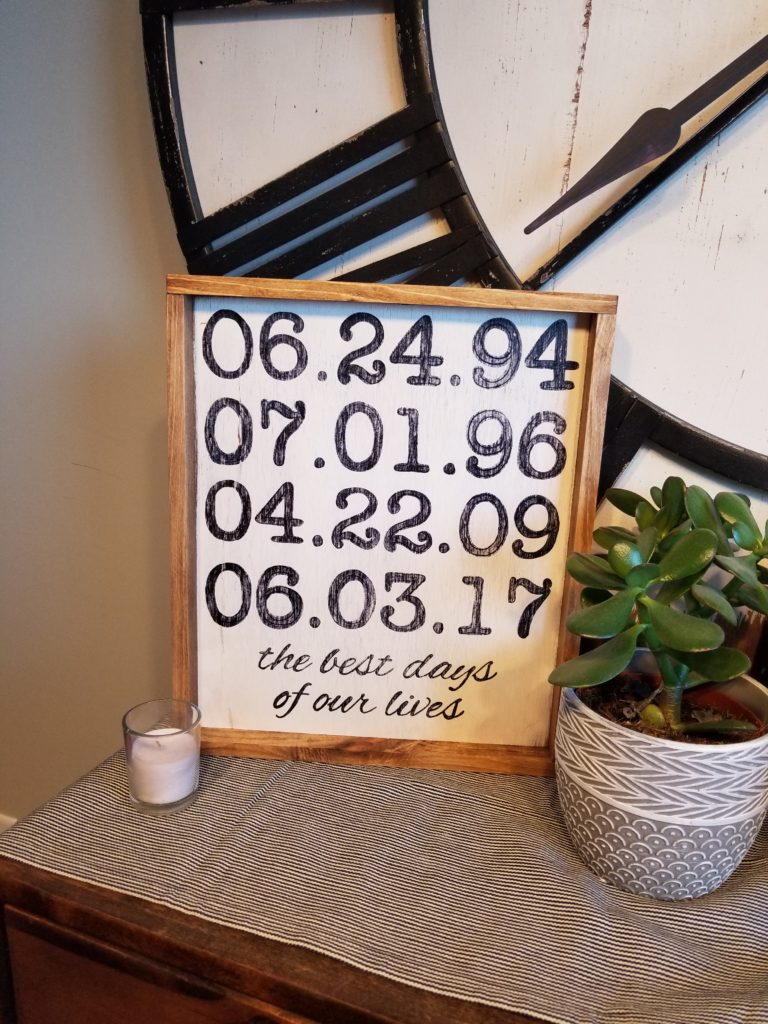
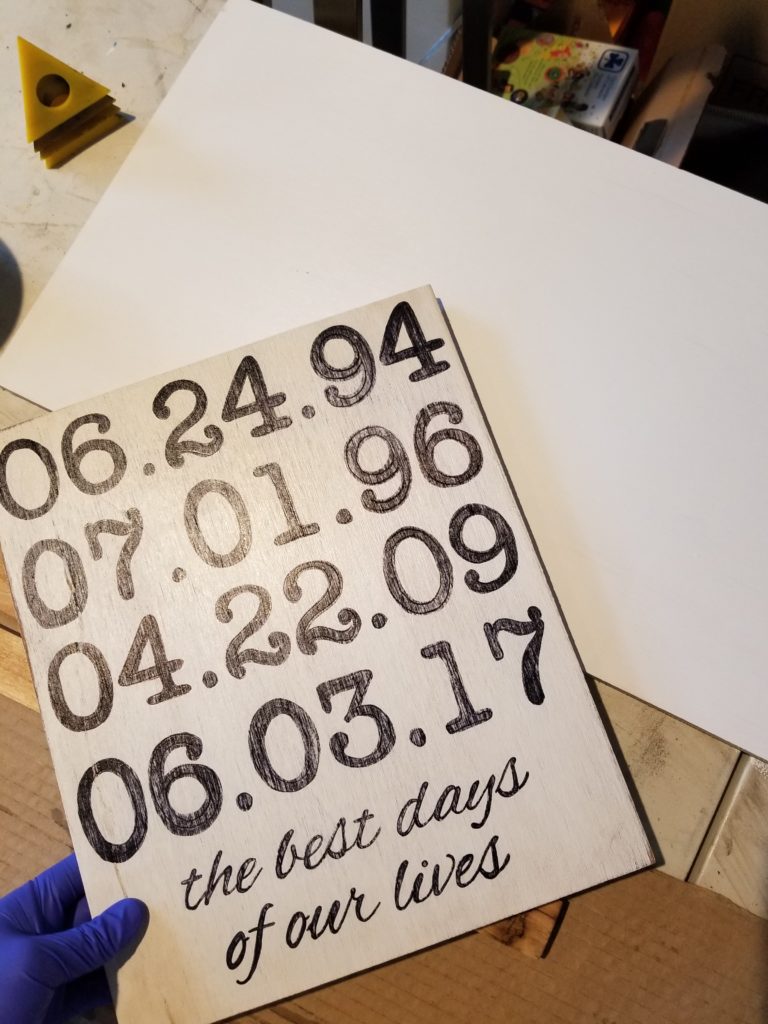
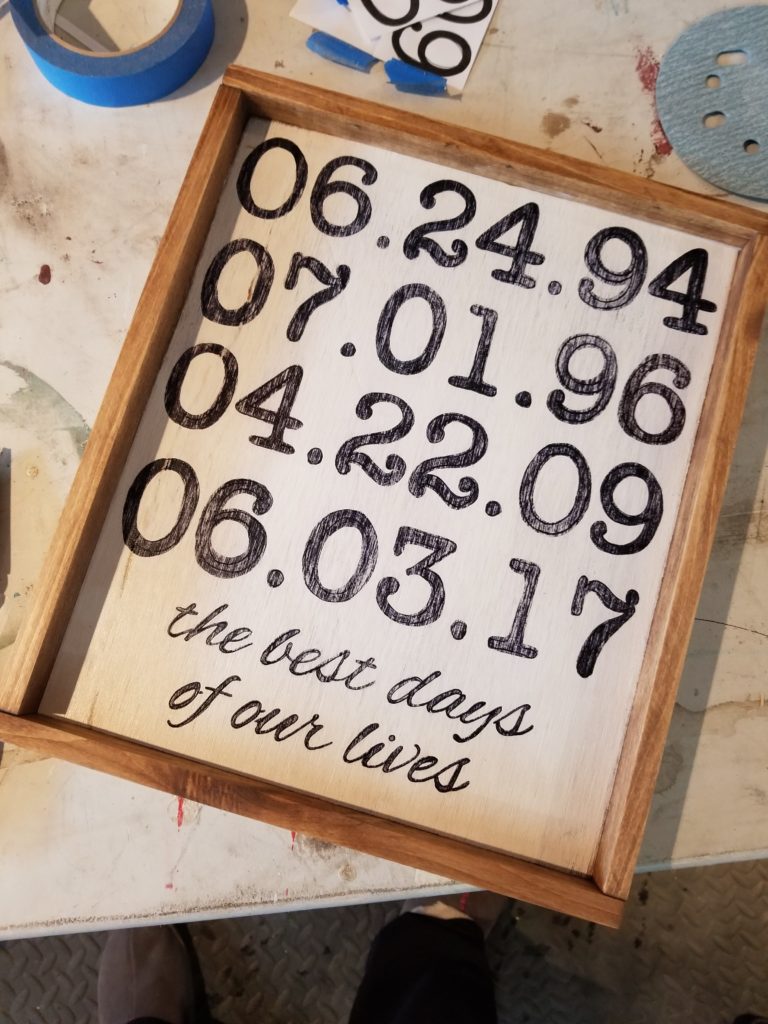
I have made dozens and dozens of signs over the last few years, usually for customers, but I have made quite a few for us as well and this sign that I made is one of my favourites. It just has so much meaning behind it. I had seen an idea similar on Pinterest a few years back and loved it so pinned it, but of course, had to wait until we actually had a wedding date to add to the sign!
There are a few different methods that I use to make these signs, and I will do a tutorial on each of them as I do new ones. This method is one of the easiest methods and requires the least specialty equipment.
We always save the scrap pieces of plywood and MDF at the shop for any signs I might want to make so they would have ended up on the burn pile if I hadn’t “rescued” them! If you have friends who woodwork, it’s possible they would have some pieces lying around that they might let you have, otherwise you’ll have to purchase an entire sheet of plywood from your local building supply store and cut it to whatever size you are looking for. Most building supply stores will cut a piece of plywood down for you, but most of them are just rough cut so they don’t end up square. I have also made lots of signs with pieces of a board that were leftover from some other project. They look just as nice, but obviously, end up being narrow signs.
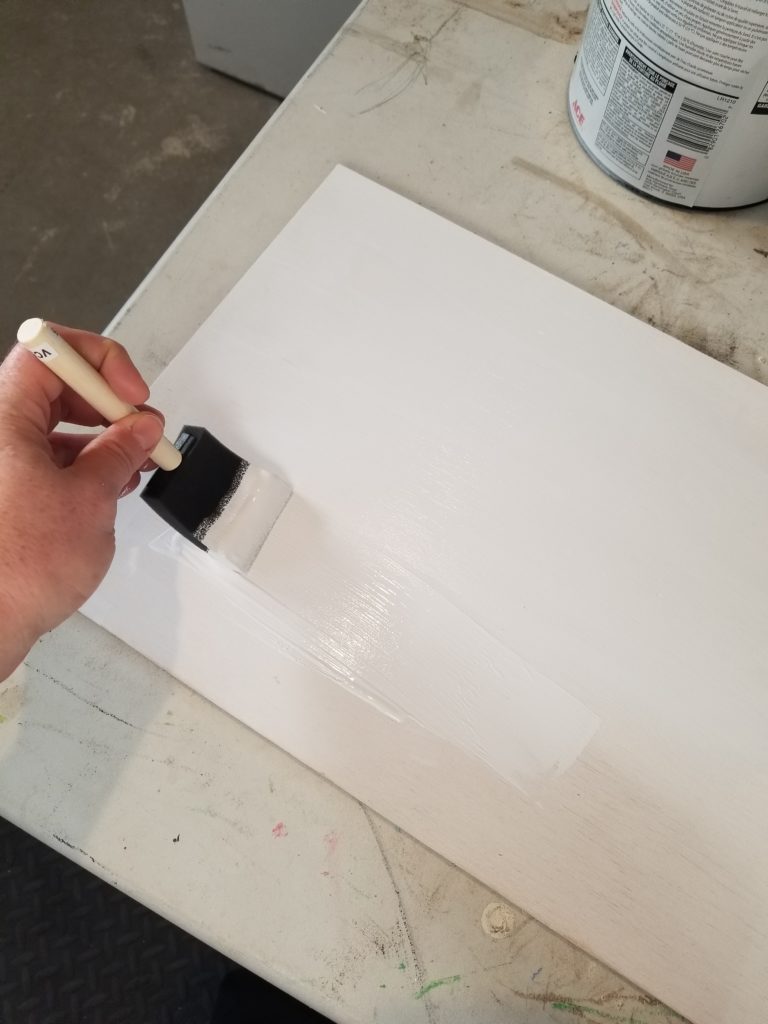
After you have found yourself the perfect piece of wood, give it a sand and make sure it’s smooth before applying a base coat of whatever color you want your sign to be, in this case white. I painted it twice, giving it a quick sand with some 600 grit sandpaper between coats. Let dry thoroughly.
If you’re any good at Microsoft Word you can get the text and numbers the way you want them (the font and size you want) and print them out. Microsoft Word and I are currently not speaking to each so I used the Silhouette Studio (I have the Silhouette cutter but I don’t think you need to have it in order to use the software?!?). I find the Silhouette software really user friendly, you can set the workspace to the size of your project which makes it really easy to lay everything out how you would like it.
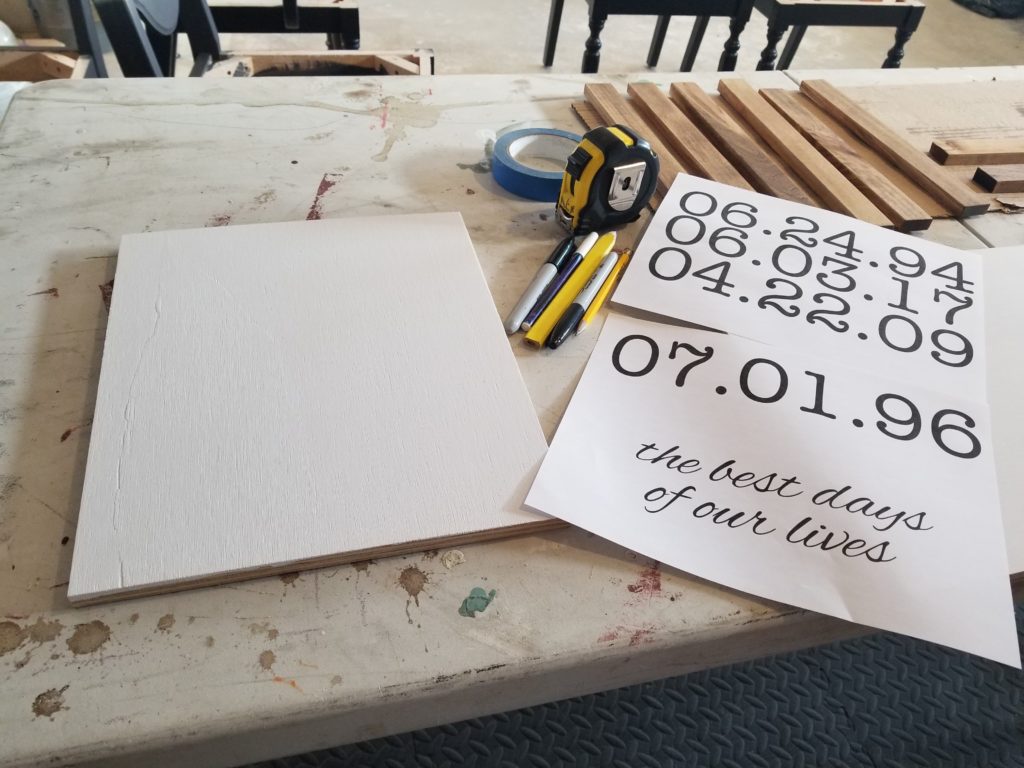
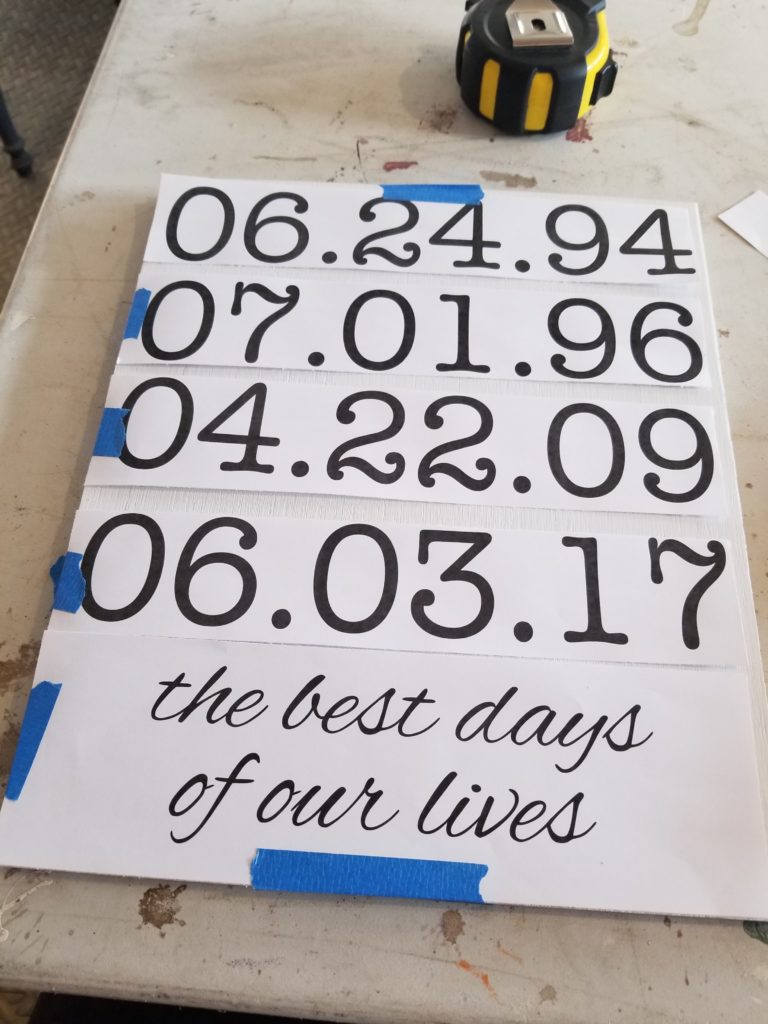
Once you have your text how you would like it, just print it out, it doesn’t have to be good quality, I usually set it to Draft to save on a little bit of ink! I find it easiest to cut all of the lines into individuals lines so I can space them out as I need to. Then I use little pieces of painters tape or masking tape to tack the paper to the wood until I am happy with the results.
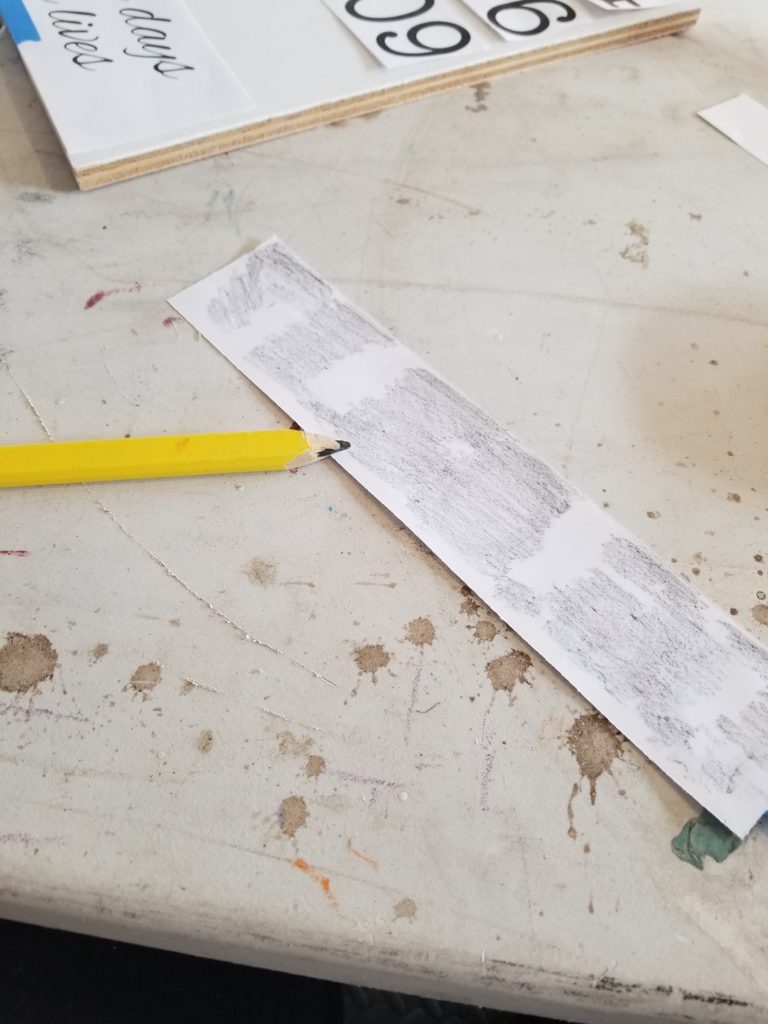
Once I have them all where I want them I take one off at a time and, taking a regular pencil, scribble all of the backside of the paper. It’s pretty easy to see where the letters are on the backside, so just make sure you cover all of the letters.
Place the paper back onto your wood where you want it to be and simply trace around each letter/number, making sure the paper doesn’t move (or you end up with crazy letters!).
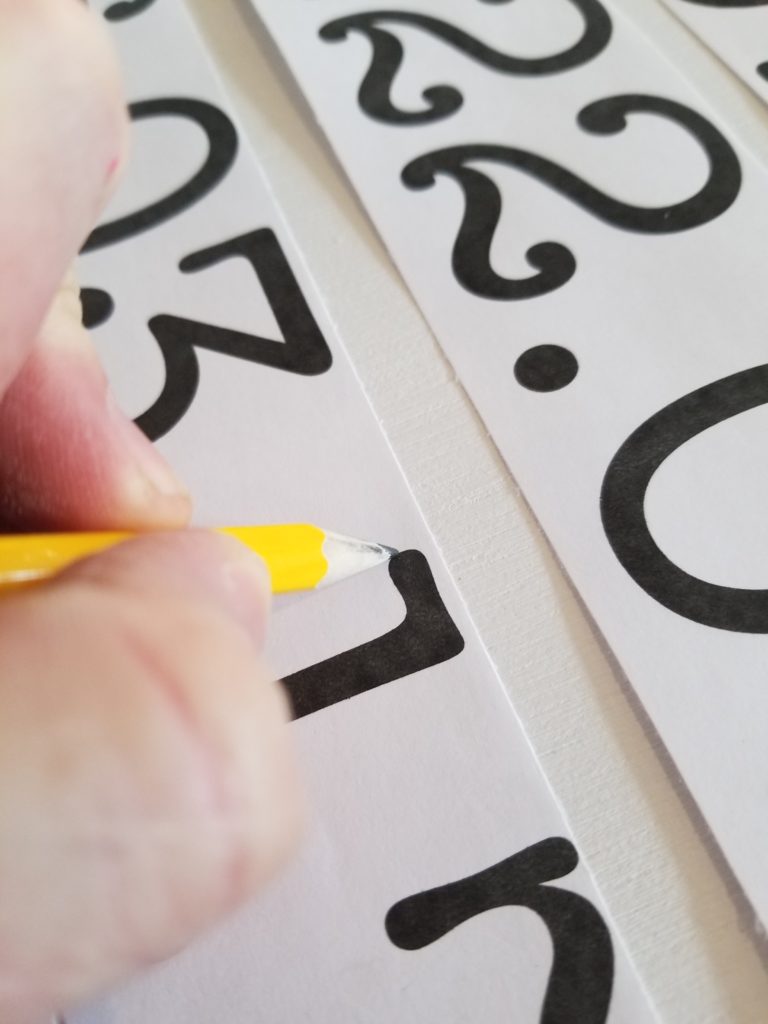
See how the pencil transfers onto the wood where you traced around? Cool, right?? Sometimes if it’s a darker piece of wood I will cover the backside of the paper with chalk instead of using the pencil, I find the chalk easier to see in that situation!
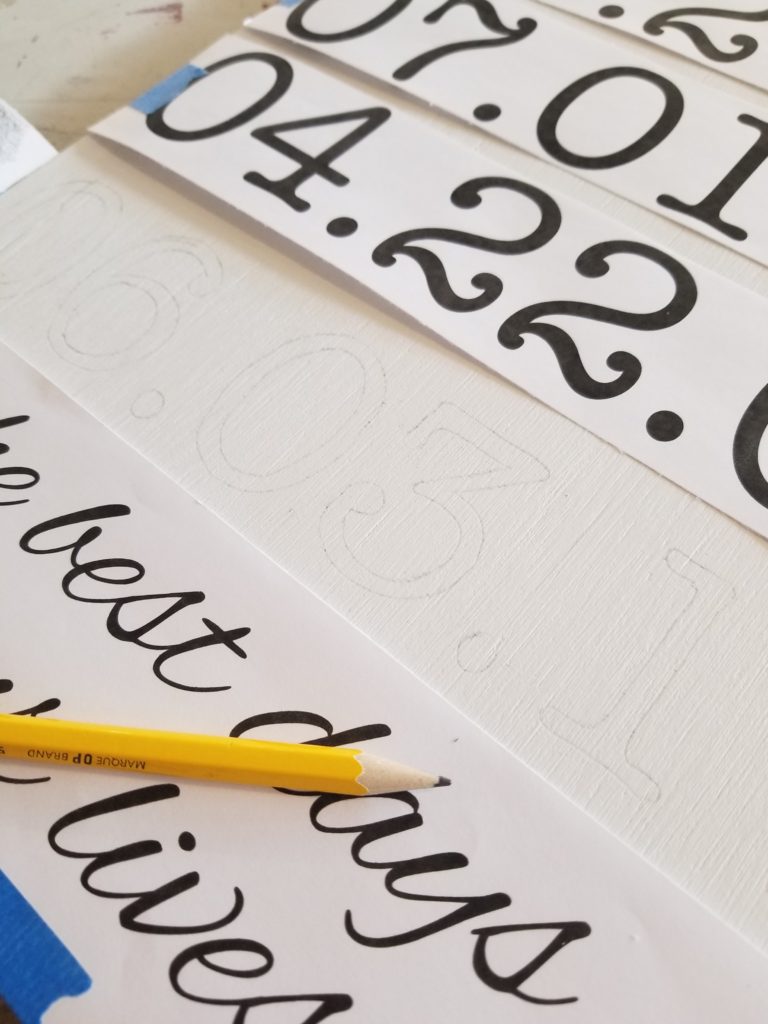
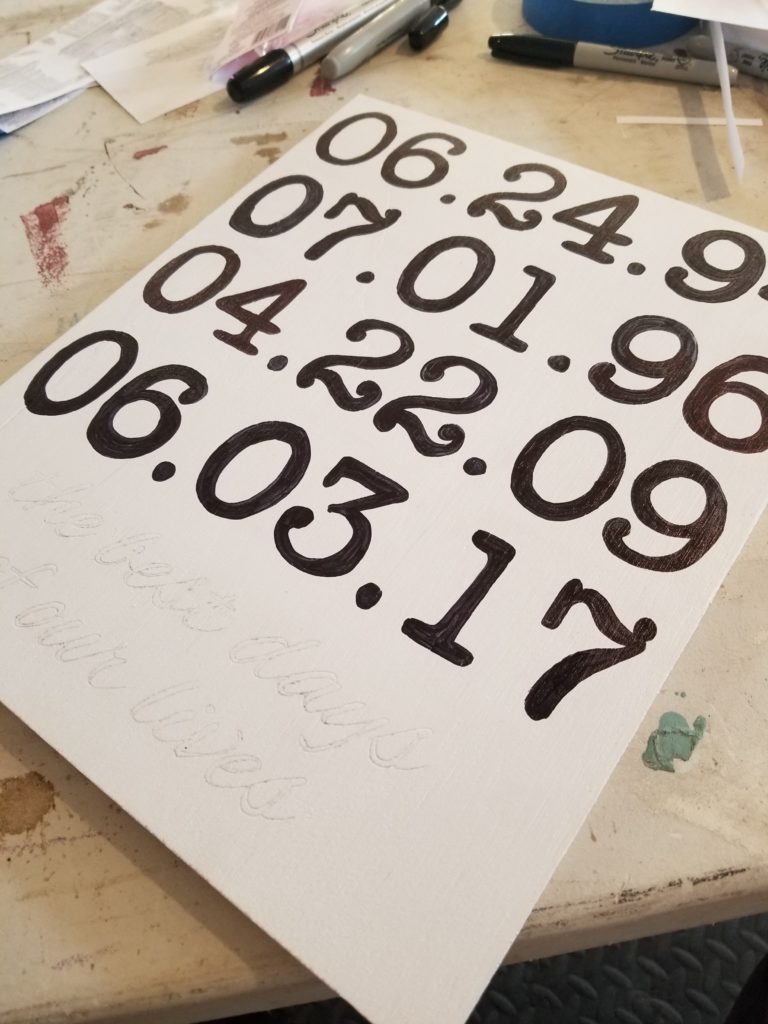
Repeat the above procedure until all of the letters/numbers have been transferred, then remove all of the papers, stand back and admire your work for a few minutes, then start outlining and filling in all of the letters/numbers with a Sharpie marker. Yep, you read that right. A regular old Sharpie marker. In the last few years Sharpie has come out with lots of new tips, and widths and thicknesses, even paint pens. The makers of Sharpie just get me. I must have at least a dozen different styles of Sharpie at any given time, and I have multiple of each style. I use them for EVERYTHING! I do find that I usually need a few pens for each sign I do. Something about writing on stain or paint really takes it out of the markers, thankfully they are cheap. I usually buy them on sale, and sometimes I get lucky and find a box of 12 really cheap. I have tried the paint pens Sharpie makes, and although I do like them, I prefer just the regular markers, unless you need white then the paint pens are the way to go!
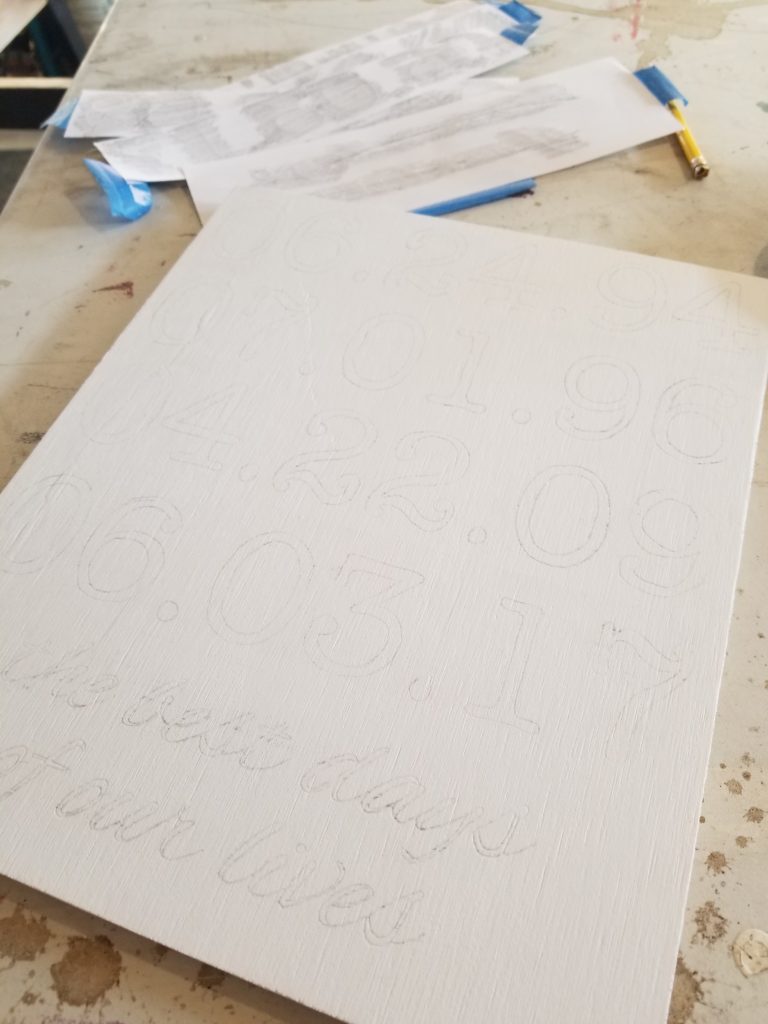
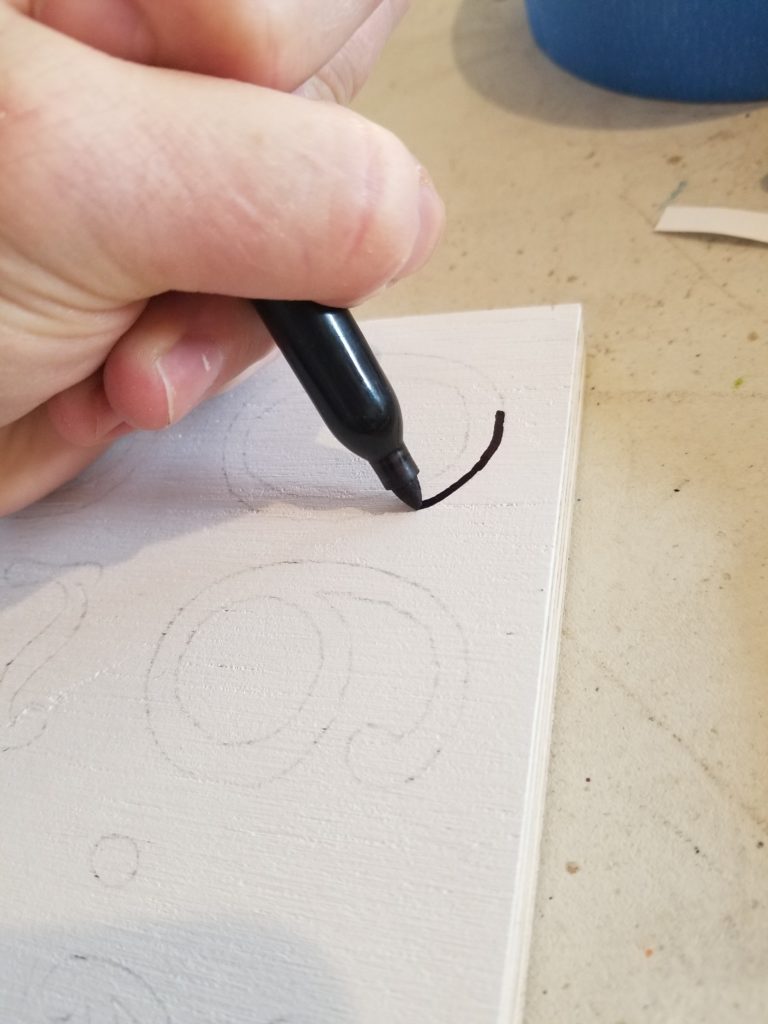
After you have filled in all of your letters/numbers you are just about there! If you’re happy with it the way it is you don’t have to do any extra work, however I wanted it to look older and faded so I ran my palm sander over it quickly to fade the letters out a little bit and scuff up some of the paint around the edges. Then, because I wanted it to look older, I quickly wiped some wood stain over the whole thing (I used Early American color by Minwax). It seems like a scary thing to do, putting stain overtop of your sign that you worked so hard on but most of it wipes off right away and it leaves behind a slightly aged creamier looking white paint.

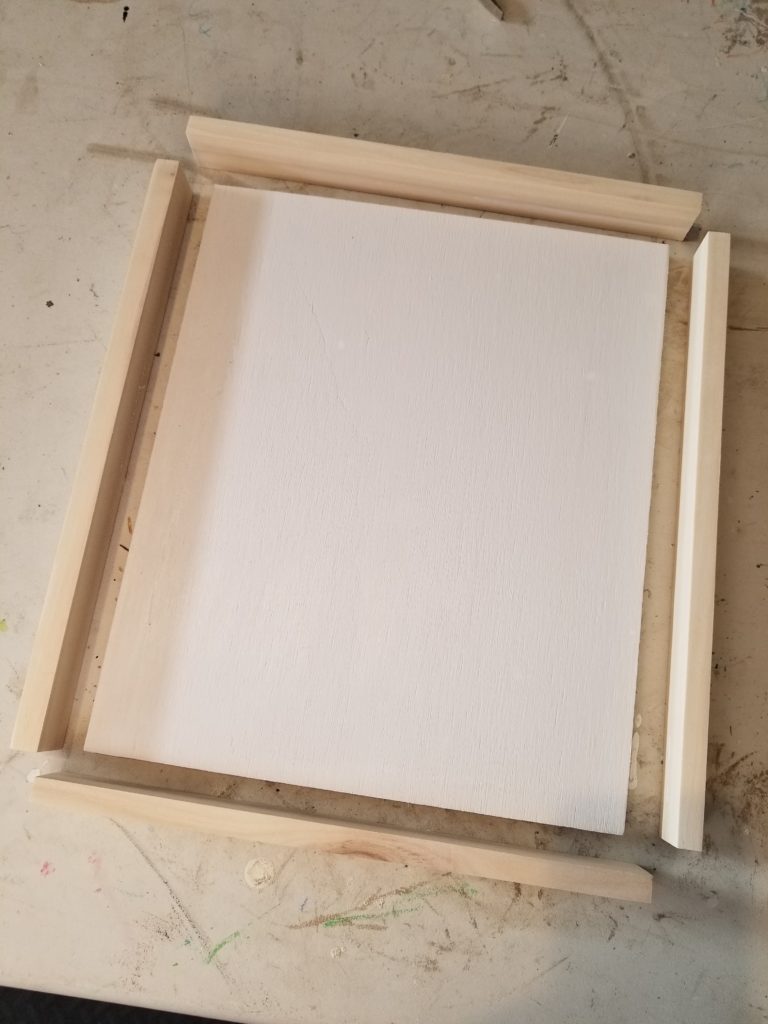
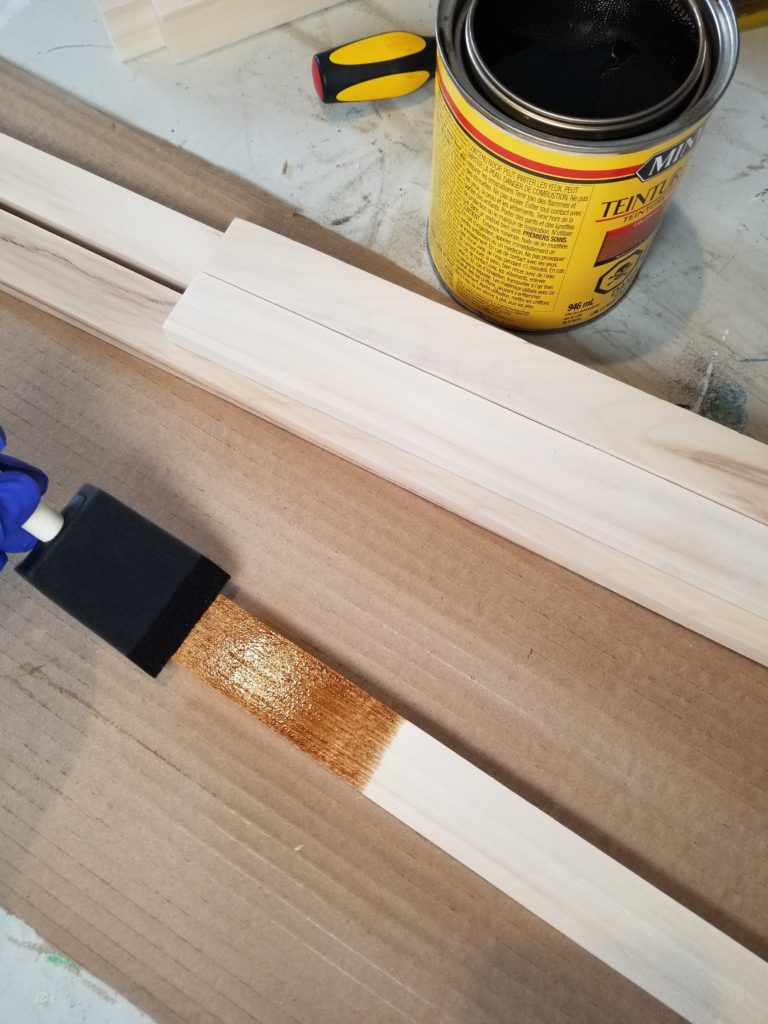
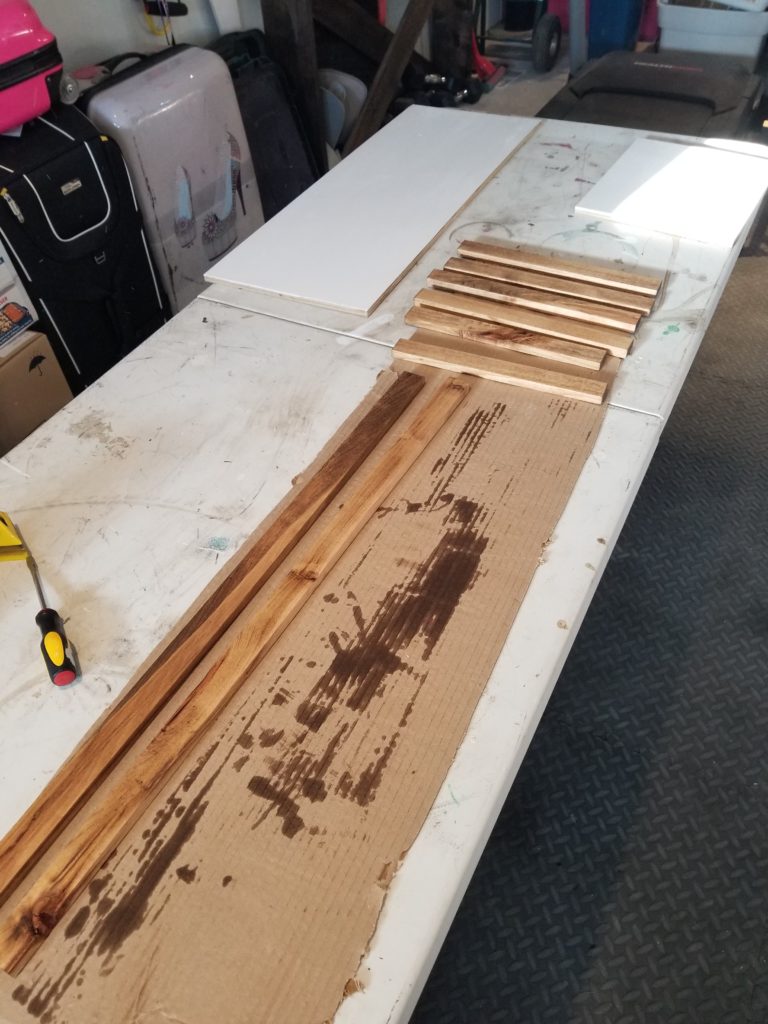
Lately I have been framing out my signs when I am done with them. I never used to do it, but I think it makes them look more finished and farmhouse-y. I use 1×2 lumber to make my frames and I cut each side after I have measured it against the sign. Once I have the 1x2s cut, I give them a sand, then stain them (again I used Early American Minwax). If you’re never used wood stain before it’s the easiest thing! You just use a cheap foam brush to brush it over the whole thing, then take a rag (old cut up t-shirts are my favorite as they are lint free!) and wipe it all off! Easy and fast! Normal people wait for the stain to dry, but I am the worlds more impatient individual so I attached them to my sign while they were still a bit wet. I attached the 1x2s with a finishing nailer, but if you don’t have access to one you could just glue them on, you just have to make sure to hold it all together with something (a paint can or two on each side works well!) and let it dry thoroughly!
When I made this sign I had planned to hang it in the stairwell in the gallery wall. Well, I say gallery wall, but at the moment it just looks like someone hung one or two random things and forgot to add anything else. There used to be quite a few things hung up there but I keep stealing stuff from it to put somewhere else in the house and never replace it. I’m torn between spending some time to make it look nice again, or just not bother as we’re moving soon! Anyway, somewhere I got lost…..right……I had planned to hang it in the stairwell but when I brought it upstairs and staged it against my giant clock I kinda fell in love with the little area so there it stays!
I have plans for some other signs and a few pieces of scrap wood just itching to get some love so I will do a different method on all of them and put up tutorials for them too. If anything isn’t clear and you want some clarification please don’t hesitate to let me know! I had planned on writing this today while Maddie was at school but the day got away from me so now I’m trying to get it done while her and Rex are watching a movie and it’s a bit distracting!
Until next time! Xox
